How to Take a Good Selfie: 9 Tips That Actually Work
Face soft window light, hold the camera at eye level and farther away than feels natural, keep the background plain, use a timer, relax your face, and let someone else pick the shot.
By the Beautify team8 min read
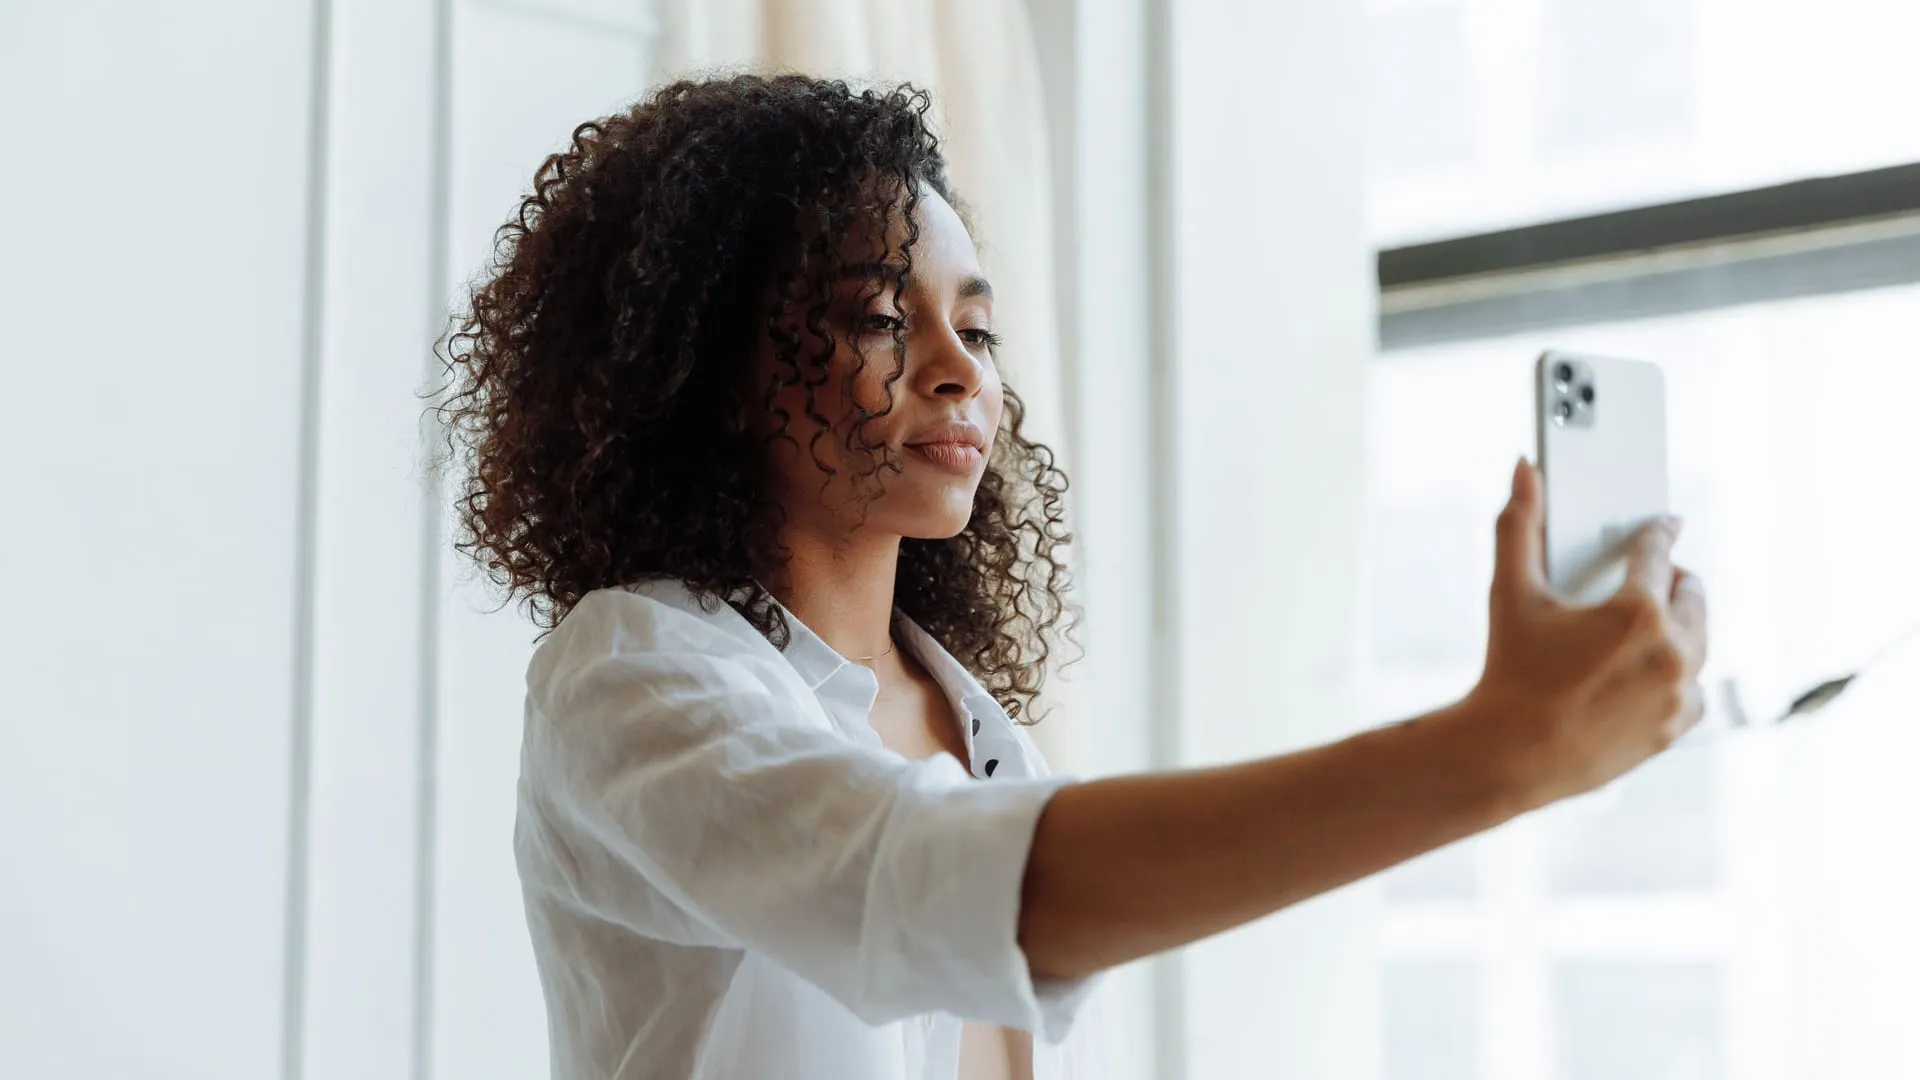
A good selfie comes from light, distance and timing far more than from your face. Many “bad” selfies are taken too close, under overhead light, with a held breath and a stiff smile, and almost any face looks better once those four things change.
This guide is for anyone who wants selfies that look like them on a good day: for a profile picture, a dating app, or a face analysis app that needs a clear photo. It covers the nine habits that make the biggest difference, the research behind the most important one (camera distance), and how the same rules make face analysis results more consistent.
What makes a selfie look good?
A selfie looks good when the light is soft and even, the camera is far enough away that your proportions look natural, and your expression is relaxed. Everything else (background, angle, editing) is fine-tuning.
That is why the same person can look tired in one photo and bright in the next. A 2014 study in Psychological Science by Todorov and Porter found that different photos of the same person can create impressions as different as photos of different people, across traits including attractiveness. The photo matters, so it is worth taking it well.
1. Face soft, natural light
The best selfie light is daylight from a window in front of you, a little to one side. It fills in shadows under the eyes, evens out skin tone and puts a small catchlight in your eyes, which makes them look alive.
- Do: stand facing a window on a bright day, or step into open shade outside.
- Avoid: ceiling lights directly above you (they cast shadows under your brows, nose and chin), a bright window behind you (your face goes dark), and harsh midday sun (squinting and hard shadows).
- At night: face a lamp with a shade, or the brightest wall in the room, instead of the overhead light.
If one side of your face looks shadowed, turn slightly toward the light until it fills in.
2. Hold the camera at eye level or slightly above
The camera should sit at about your eye level, or a little higher. A low camera looks up your nose and widens the jaw; a camera held far above you makes your head look large and your body small.
Once the height is right, push your face slightly forward toward the camera and tip your chin a touch down. This defines the jawline without the stretched look of a raised chin. Keep your head level rather than tilted, unless the tilt is a deliberate pose.
Many people also have a side they prefer. Every face is slightly asymmetrical, so try a few shots turned a little left and a little right and keep the one that feels more like you.
3. Step back: distance changes your proportions
Camera distance changes the shape of your face in a photo, and arm’s length is too close for a natural look. Features nearest the lens (the nose, the center of the face) are enlarged relative to features farther away (ears, the sides of the face).
A model by Rutgers and Stanford researchers, published in JAMA Facial Plastic Surgery in 2018, measured this. Ward and colleagues found that a selfie taken 12 inches from the face made the nose about 30 percent wider (30 percent in men, 29 percent in women) relative to the width of the face than an undistorted projection. At 5 feet, a standard portrait distance, there was “essentially no difference.”
You cannot hold a phone 5 feet away, so:
- Straighten your arm fully rather than bending your elbow.
- Prop the phone up on a shelf or stack of books a few feet away and use the timer.
- Ask someone else to take the photo from 4 or 5 feet, zoomed in a little (on phones with a 2x or 3x lens, use it).
4. Use the rear camera when you can
The rear camera on most phones is the better camera: its main camera usually has a larger sensor, and it often has extra lenses for zoom, so it tends to capture more detail and cleaner low-light photos. The front camera is convenient because you can see yourself, but its wide lens encourages the close, distorting distance described above.
For a profile picture or any photo you care about, prop the phone up, switch to the rear camera, frame the shot and set the timer. You lose the live preview, but you gain sharper detail and a more natural perspective. Take a few test shots to find the right spot.
5. Keep the background simple
A plain background keeps attention on your face. Look behind you before you shoot: a door frame or lamp that seems to grow out of your head, a messy room, or a bright window will pull the eye away.
Good options are a plain wall, a curtain, foliage, or a sky. Step a few feet away from the wall if you can, which softens it and avoids shadows directly behind your head. If the background matters (travel, an event), place yourself to one side of the frame so both are clear.
6. Use the timer and take lots of shots
A timer frees your hands and lets you relax before the shutter fires. On iPhone, Apple’s guide to camera tools explains how: open the camera tools menu, tap Timer, and choose 3, 5 or 10 seconds. You can also press a volume button to take the photo, which avoids the shake of tapping the screen.
Take many frames, not one. Expressions change from second to second, and the shot where you blinked mid-laugh might sit right next to the best photo of the session. Twenty frames and one keeper is a good session, not a failure.
7. Relax your face instead of posing it
A relaxed expression photographs better than a held one. When you hold a smile while waiting for the shutter, your eyes stop smiling and the photo looks stiff.
Try these:
- Breathe out just before the photo, and let your shoulders drop.
- Unclench your jaw and let your tongue rest behind your top teeth.
- Smile with your eyes by thinking of something funny instead of arranging your mouth.
- Talk or laugh during a burst, then pick the frame between words.
A neutral, closed-mouth expression is also fine, and it is what many face analysis apps ask for.
8. Edit lightly and skip heavy filters
Light editing helps; heavy filters backfire. Adjusting brightness, warmth and crop can rescue a photo taken in imperfect light. Skin smoothing, face slimming and eye enlarging filters make you look unlike yourself in person, which is a problem on a dating profile and makes any face analysis meaningless.
A good rule: edit until the photo looks like you in good light, then stop.
9. Let someone else pick the final photo
Other people are often better at picking your best photo than you are. A 2017 study by White, Sutherland and Burton asked 610 people to choose profile pictures from photos of themselves and from photos of strangers. Overall, the photos picked by strangers created more favorable first impressions than the ones people picked for themselves.
So shortlist three or four shots and ask a friend which one looks most like you. You are used to your mirror image, and you notice small details that nobody else sees.
Which selfie problems have the quickest fixes?
| Problem | Likely cause | Quick fix |
|---|---|---|
| Nose looks big, face looks narrow | Camera too close | Straighten your arm, or use a timer from a few feet away |
| Dark circles and shadows | Overhead light | Face a window or a shaded lamp |
| Face too dark | Bright window behind you | Turn around so the light is in front of you |
| Double chin | Camera too low | Raise the camera to eye level, push your face slightly forward |
| Stiff smile | Holding the pose | Breathe out, use a burst, laugh between frames |
| Photo looks flipped | Front camera mirroring | Turn on Mirror Front Camera in iPhone settings |
That last one comes from Apple’s selfie guide: by default iPhone saves the unflipped image, while the preview shows a mirror image. For why that looks so odd to you, see why you look different in photos than in the mirror.
How do you take a selfie for a face analysis app?
For a face analysis app, the goal is a consistent, neutral photo rather than a flattering one. Face rating apps read proportions, symmetry and skin from a single image, so anything that changes the image (distance, light, head angle, expression) can change the result. Our page on whether face rating apps are accurate explains why.
Use the same setup every time:
- Even, soft light from the front, with no harsh shadows.
- Face straight on and centered, head level, eyes on the lens.
- Mouth naturally closed, relaxed expression.
- Hair pulled back, glasses off, nothing covering the face.
- No filters or beauty mode.
- The same distance and place each time, so you compare like with like.
Following the selfie rules above makes a photo flattering. Following this list makes results from different days comparable.
Where does Beautify fit?
Beautify is an iPhone app that analyzes one selfie, and it asks for exactly the photo described above: face straight and centered, looking at the camera, mouth naturally closed, good light without harsh shadows and nothing covering your face. From that photo it gives eight scores out of 100 (including skin quality and facial symmetry), your face shape, eye shape and skin type with tips for each, and a glow-up guide. Past results stay in the Scans tab, so taking each scan in the same setup makes them easier to compare. The scores are estimates from one photo, not a verdict. For the photo itself, a friend’s honest opinion or a timer and a window will do more than any app.
What matters most?
- Light first: face a window, not a ceiling light.
- Distance second: arm’s length distorts, a few feet away looks natural.
- Keep the camera at eye level and the background plain.
- Take many shots with a timer, relax your face, and let someone else choose.
- For face analysis, aim for the same neutral setup every time rather than the most flattering one.
Questions people ask
How do you take a good selfie if you're not photogenic?
Feeling unphotogenic is often a reaction to close-range distortion, harsh light and a frozen expression rather than to your face. Step back, face a window, take a burst of shots while talking or laughing, and pick from many frames instead of judging yourself on one.
Do the same selfie tips work for men?
Yes. Light, camera height, distance, background and expression work the same way for every face. The only difference is style: some people prefer a more serious expression or slightly harder side light, which you can get by turning a little away from the window.
Should I use beauty mode or filters on selfies?
Use them lightly if at all. Heavy smoothing and face-reshaping filters make skin look plastic and features look unlike you in person. Small adjustments to brightness, warmth and crop usually do more for a selfie than any filter.
Why does my selfie look flipped?
The front camera preview shows you a mirror image, but iPhone saves the unflipped version by default. If you prefer the photo to match the preview, turn on Settings > Camera > Mirror Front Camera.
Sources
- Ward, Ward, Fried and Paskhover, Nasal Distortion in Short-Distance Photographs: The Selfie Effect (JAMA Facial Plastic Surgery, 2018)
- Todorov and Porter, Misleading First Impressions: Different for Different Facial Images of the Same Person (Psychological Science, 2014)
- White, Sutherland and Burton, Choosing Face: The Curse of Self in Profile Image Selection (Cognitive Research: Principles and Implications, 2017)
- Apple, Use iPhone camera tools to set up your shot (iPhone User Guide)
- Apple, Take a selfie with your iPhone camera (iPhone User Guide)